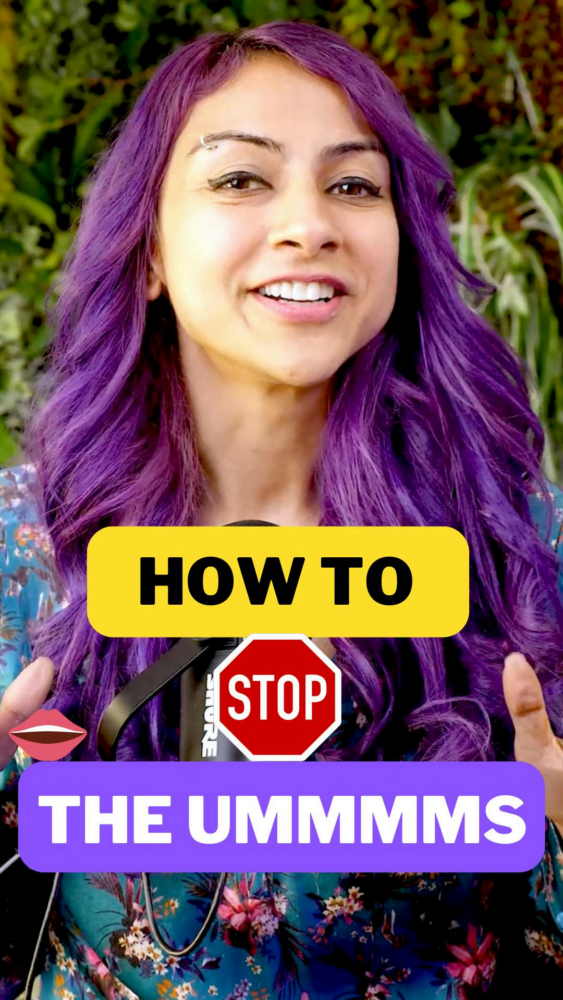
Today, I’m going to show you exactly how I used my Masters degree in Filmmaking + 7 years of experience as a commercial director to create simple, short, crisp videos that got me attention, leads and clients.
Here’s my video creation blueprint:
Step 1: Video topics
This is the step that most entrepreneurs and creators get stuck at: How to begin.
I knew I wanted to talk about public speaking – but what exactly would work?
So I used 3 types of content:
- I re-created my best performing text posts on LinkedIn as videos.
- I answered the questions I got asked the most as videos.
- I demonstrated specific techniques on video (that couldn’t be explained as well through text).

Step 2: Scripting your video
A lot of people get “scripting” wrong.
They write out full sentences and then struggle to recall them when filming.
The secret is to write bullet points instead of full sentences, and then articulate the sentence when you’re filming. That way, it won’t sound “scripted”, robotic or rehearsed.
Step 3: Creating a repeatable video creation system
I knew that if I had to set up my equipment and lighting each time for filming myself, I’d never do it. So I set up my camera on a tripod, set up a ring light (more on lighting below), set up an external mic and left it there.
This way, I could create videos anytime without procrastinating.
A lot of people ask me what equipment and lighting I use – here’s my list:
- Camera: I use a Panasonic GH5 – you can use a Sony or a Canon OR even a phone. Most phone cams are great.
- Audio: An external mic – either a desktop one or a collar mic works.
- Lighting: I’m a big fan of natural lighting so I used daylight and a ring light to balance out the shadows. Check out this lighting diagram to design your own:
Step 4: Batch-create your videos
I set aside time to film 4-5 videos in one go on a Saturday afternoon. This way, I get videos to use for a month.
Pro-tip: It will take you a little while to get into the flow – so be generous and realistic when scheduling filming time. I set aside 3 hours to film 5 videos.
Step 5: Batch-edit videos
Create a standard look-and-feel for your videos. Use consumer-friendly editing software like veed.io or descript.
Start simple. Just edit the beginning, end, any slip-ups and add captions.
Or hire an editor. Either way, don’t let the fear of editing get in the way of you creating awesome content.
Step 6: Analyze, refine, iterate
Don’t aim to publish the first few videos you create. Use them as practice.
Watch yourself back (even if it’s cringey). Analyze your performance.
Engage your audience with your voice, energy and body language.
Hope this helps!
Remember – it’s never about the fancy tech. It’s about how good of a speaker you are.
Till next time,
💜 Nausheen
