You’re an expert in your industry.
But when you speak, do you fail to impress?
I can change that.
I’ve helped 300+ entrepreneurs and execs become confident and effective speakers. Let me help you feel good and look effortless speaking anywhere.

“Nausheen brought a full arsenal of speaking tips, techniques and advice I could immediately apply.”

Sales Enablement Leader IBM
“After working with Nausheen, my authority has exploded. Everybody is treating me differently.”


Solutions Architect
“In a matter of weeks, Nausheen helped me deal with my crippling stage fright.”

CEO
The Human Stack
Picture this: Your next presentation. Your next interview. Your next meeting.
Your dream? To sound confident, clear, smart, real, and fluid when you speak.
But here’s the kicker: In reality, you’re a bundle of nerves, feeling the heat, stumbling over your words, and unsure of what to say next.You’re caught up in a whirlwind of “uhms”, “errs”, and “you knows,” unable to find the right words when you need them most.

You’re thinking on your feet.
You articulate your message clearly and concisely to wow management.
You feel super comfortable even in awkward client negotiations.
Breeze through podcasts and interviews as naturally as chatting over coffee.
No spotlight stress ever again.
You're speaking as the most impactful version of you on camera and on stage.
“Nausheen changed the trajectory of my career!”

Technical Product Manager
Be ready to speak anytime, even on a bad day.

I bring you 20 years of experience in the science and art of speaking wrapped in a purple package:
Ex Fortune 500 (Procter & Gamble) – Teaching you the corporate world’s best speaking techniques.
Award-winning filmmaker – Coaching you on how to speak confidently on camera.

CEO
The Human Stack
I’ve coached leaders at IBM, Amazon, AT&T to become confident and impactful speakers through my signature Speak as a Leader System.
It’s completely personalized to your unique needs:
Let’s kickstart this journey by doing a deep dive into your speaking skills.
What are you already a champ at and where could you use a little help?
Then we create your 360°, no-holds-barred, speaker profile.
Learn the tools to bring clarity, energy, confidence to every talk and presentation.
Apply targeted strategies to overcome your limiting beliefs and fears that hold you back.
We’re in this together – you talk, I guide.
We’ll analyze your performance, pinpoint the highs and lows, and establish strategies for your continuous improvement.
“Nausheen’s guidance is always spot-on. I felt inspired and empowered to do better every time I spoke in public and on camera.”

Founder & CEO
Learn to speak fearlessly to become the go-to expert in your industry and fast-track your thought leadership.
Just after a few weeks of coaching 1:1 with Nausheen, I made 3 deals in one day. My authority has exploded. Everybody is treating me really differently. I can’t thank her enough!

Solutions Architect
Life Coach for High Achievers
I’m so happy I worked with you last year. Changing the way I thought about public speaking made a lot of difference in recent interviews. I landed an offer because I fended off the negative self talk and leveraged my confidence instead.
Technical Product Manager
Founder and CEO
Alder Airfield Services
Senior Specialist
Fortune 500 copywriter
Founder of Hey Jay
Professional and personable. Nausheen worked with me to prepare for an important interview. After five coaching sessions and prescribed practice, I felt well prepared, confident, and delivered a strong interview!
Highly Recommend!
Co-Founder and CEO
34 Strong, Inc
Hate watching yourself back because you feel like you’ve let yourself down?
You walk away from a presentation thinking, “I could have said that so much better!”
Let’s change that.
You and I, we team up. Together, we’ll supercharge your confidence, make your words crystal clear, and transform your presence —whether you’re on a giant stage or looking into a teeny-weeny camera.
Join me and a friendly crew of fellow leaders who want to speak better, as we create a safe space together and fire up your speaking skills.
Here are some free tips and advice to help you speak more clearly and confidently, whether you’re at work on on stage.
Transform your speaking skills in 5 days.
Sign up to find out how to turn your words into powerful, confident communication.
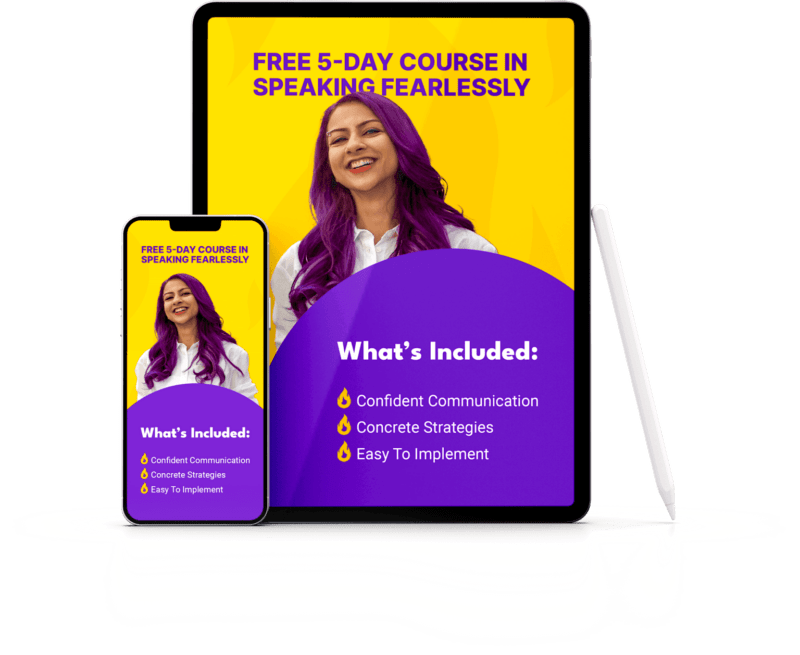
This free video course will give you concrete strategies to gain more confidence and speak fearlessly at your next presentation, meeting or podcast.
By clicking Get It Now you’re confirming that you agree with our privacy policy.

© 2023 Nausheen I. Chen. All rights reserved.
Website Created by
Level up your speaking skills to attract more clients and close more deals.
Click here for more details about this free masterclass.